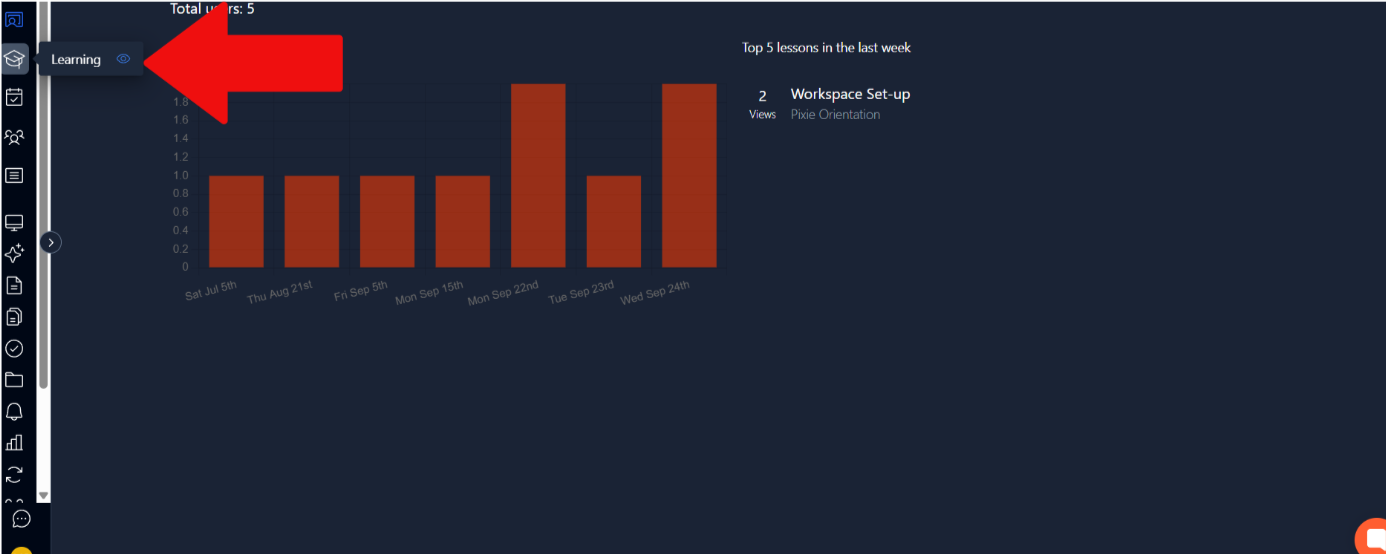
To create a course, you need to first head to the admin learning section shown in the image below.
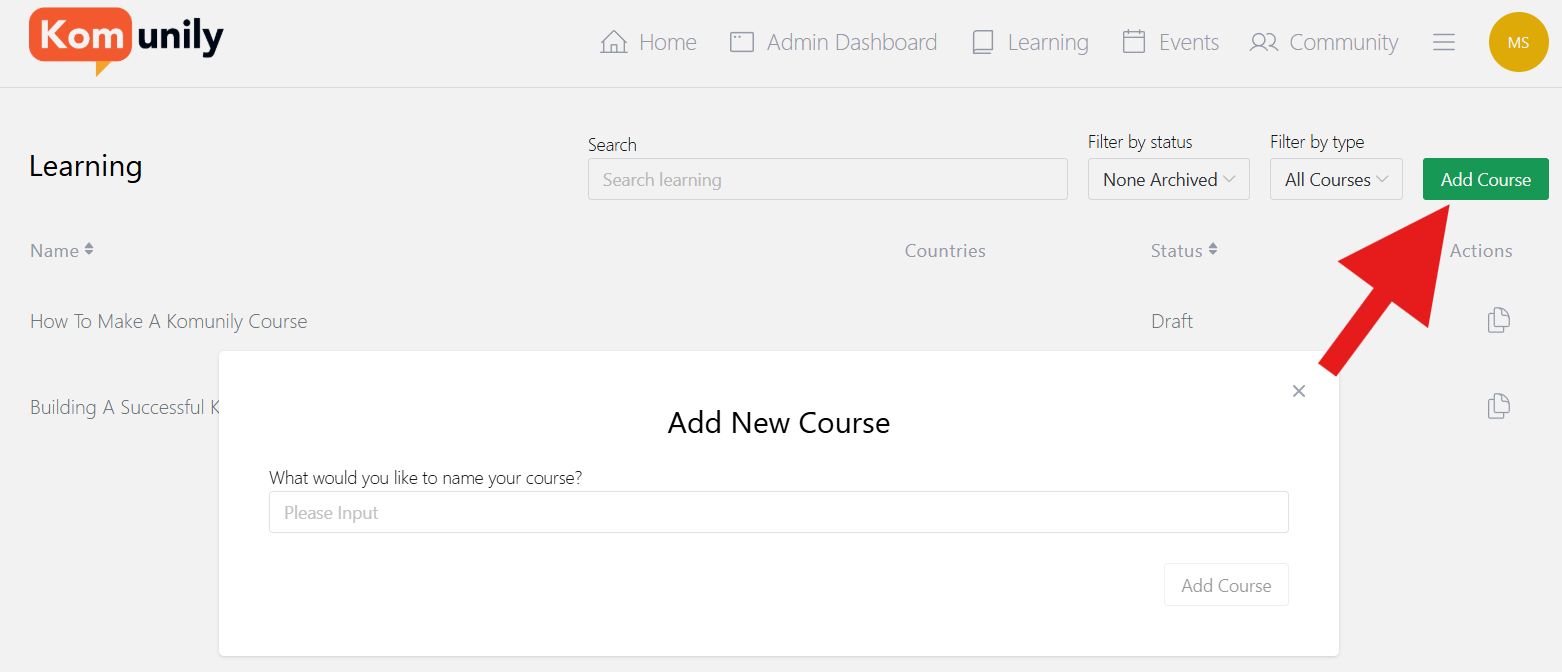
From there, select the add course option and select a name relevant to your course or lesson. This is shown in the image below.
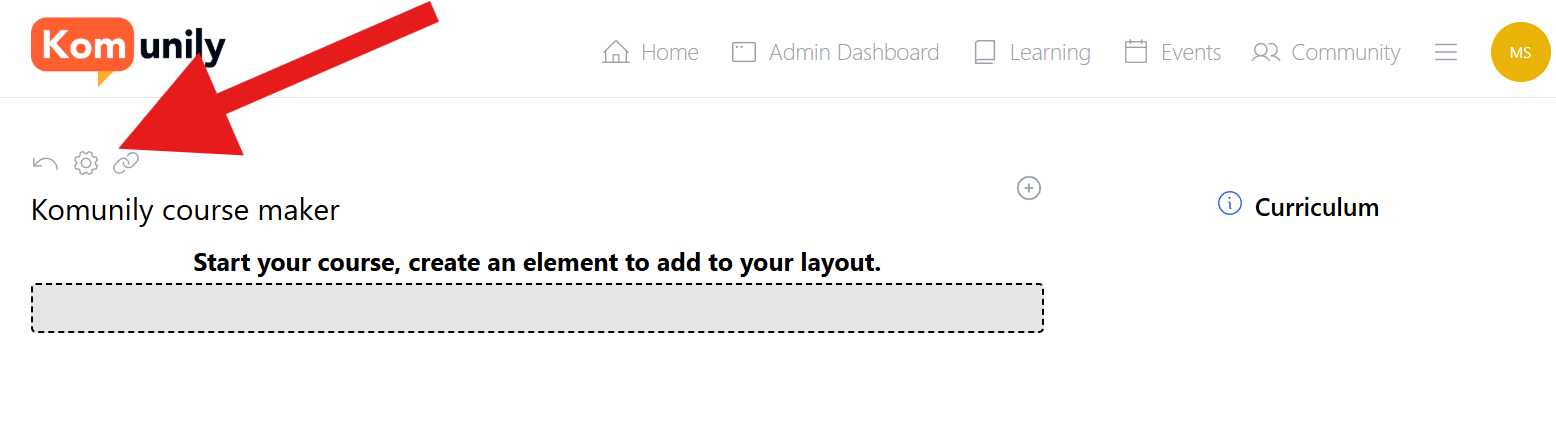
When it comes to making your first course, I would first focus on the settings of the course, which can be found in the image below.
On this page, there are many things that can be changed to your liking. This includes the core settings like name, status, instructor, URL and much more. Other sections in settings include stuff like who can access the course in the 2nd tab, like what countries, whether it’s paid or not and much more. The other tabs include things such as meta changes, advanced settings like deleting the course and a history of changes so you know who has been making changes to the course.
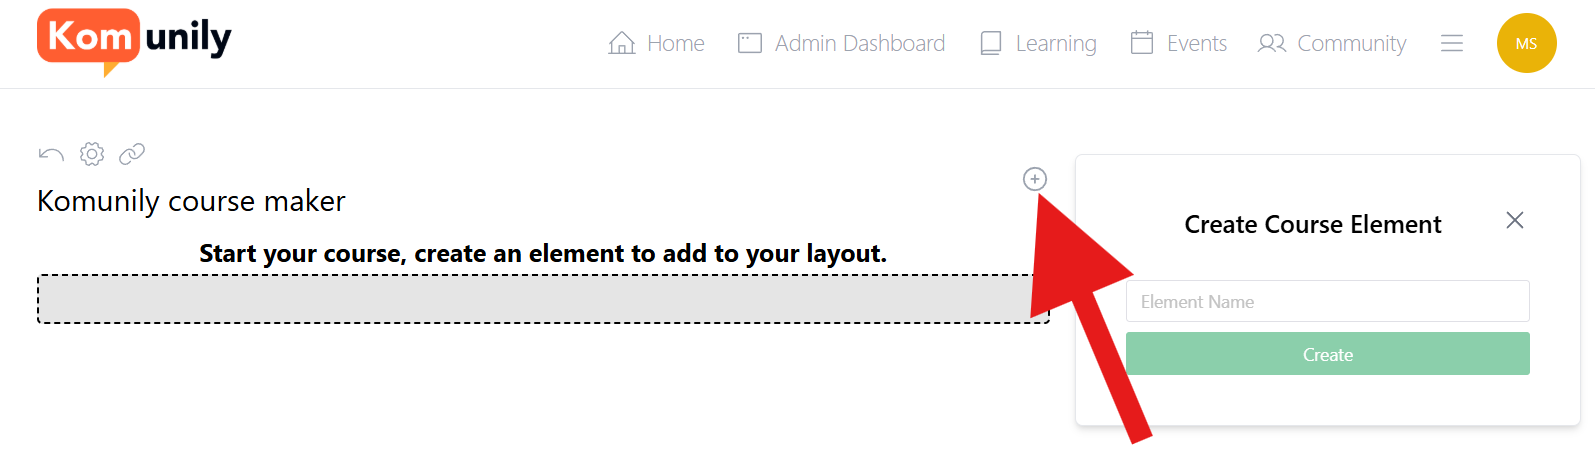
Once you have decided what settings you want for your course, we can now get to starting and going over the various elements of creating your course. Firstly, we need to add an element to the course. To do this, click the + button shown in the image below, then select the element name as shown.
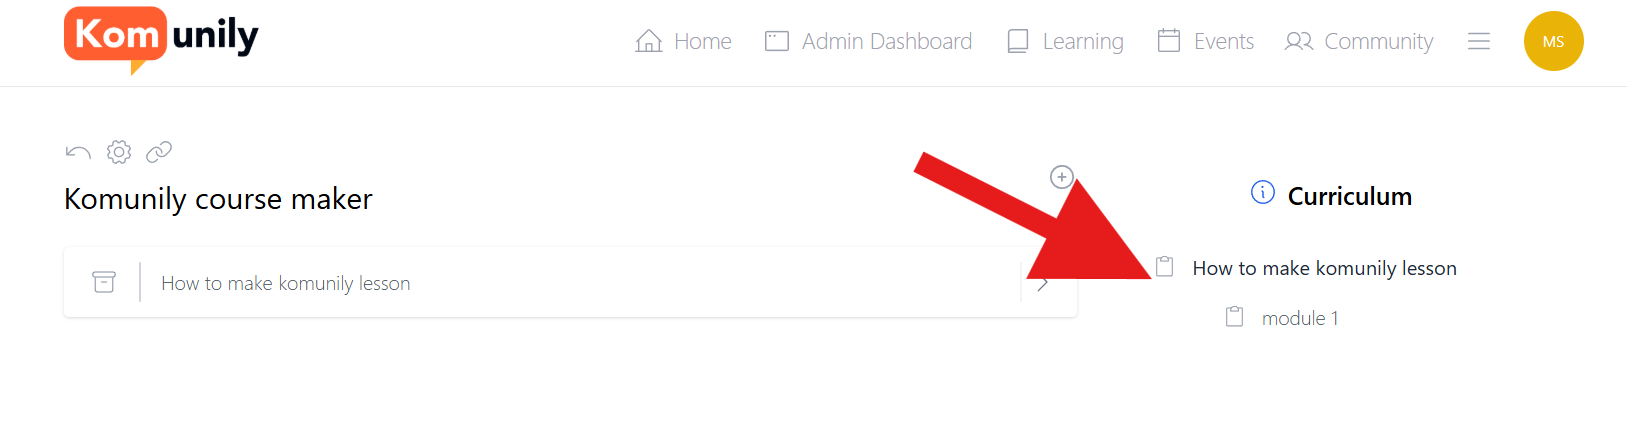
From here, you choose between a section or module and drag and drop them into place on the left. A section can contain a module, and a module can be alone. To show you an example, we have a basic version with text showing what this means.
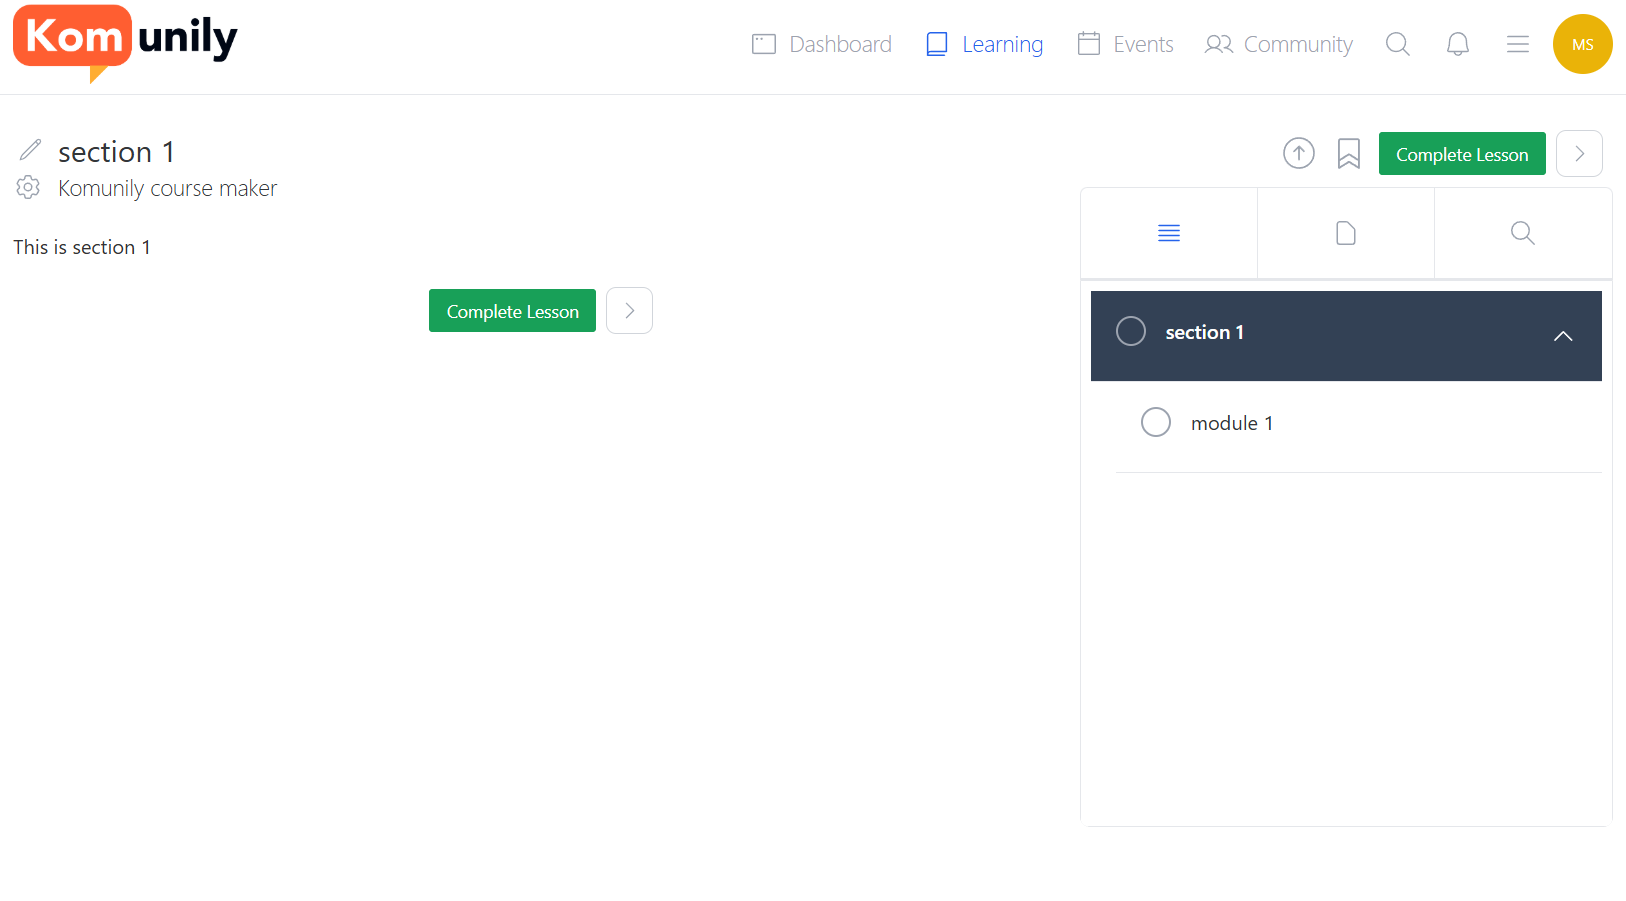
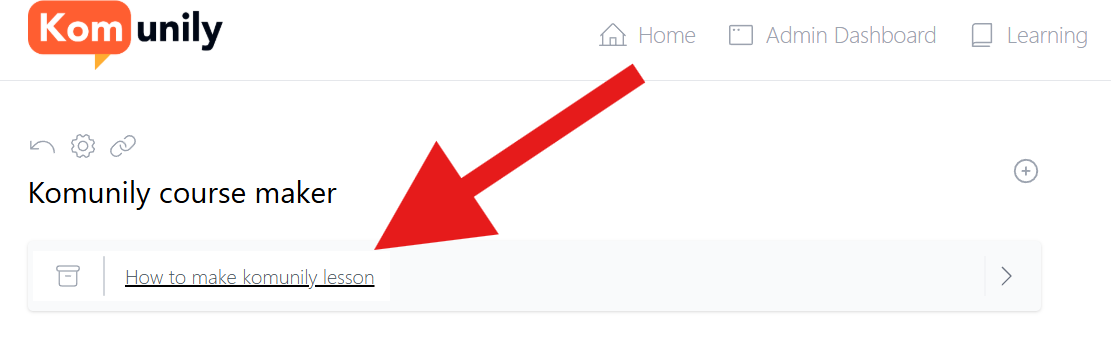
See how the module is part of the overall section? Now let’s improve this into a fully made lesson. The first thing to do in this section is to select the section’s name by clicking on it, to then be able to edit it, publish it, and choose settings to find out how to get there, see the image below.
Upon clicking this, there will be a lot of different tabs and sections that may seem overwhelming, but this will tell you how to prioritise and get through them. First, select the settings tab, then the name and URL of the element and an instructor if you want, so that it is as you wish it to be. From there, we can get to designing the element you have added. To do this, click the + symbol to add the 1st part of this page as shown in the image below.
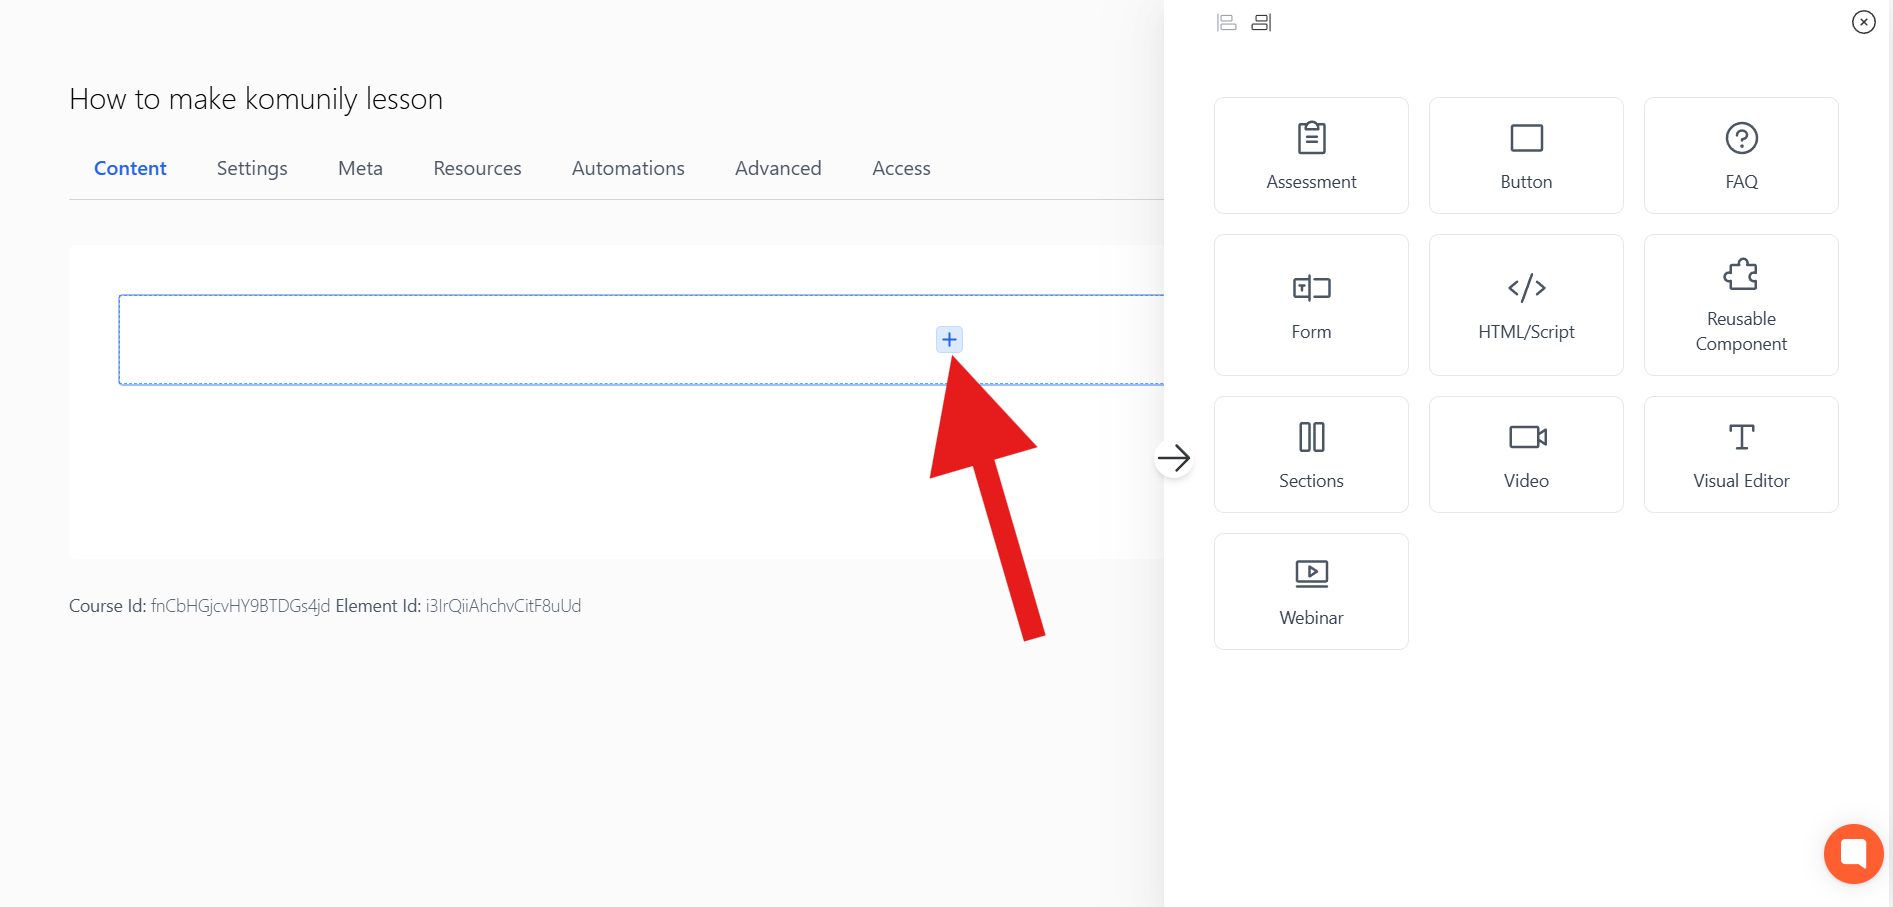
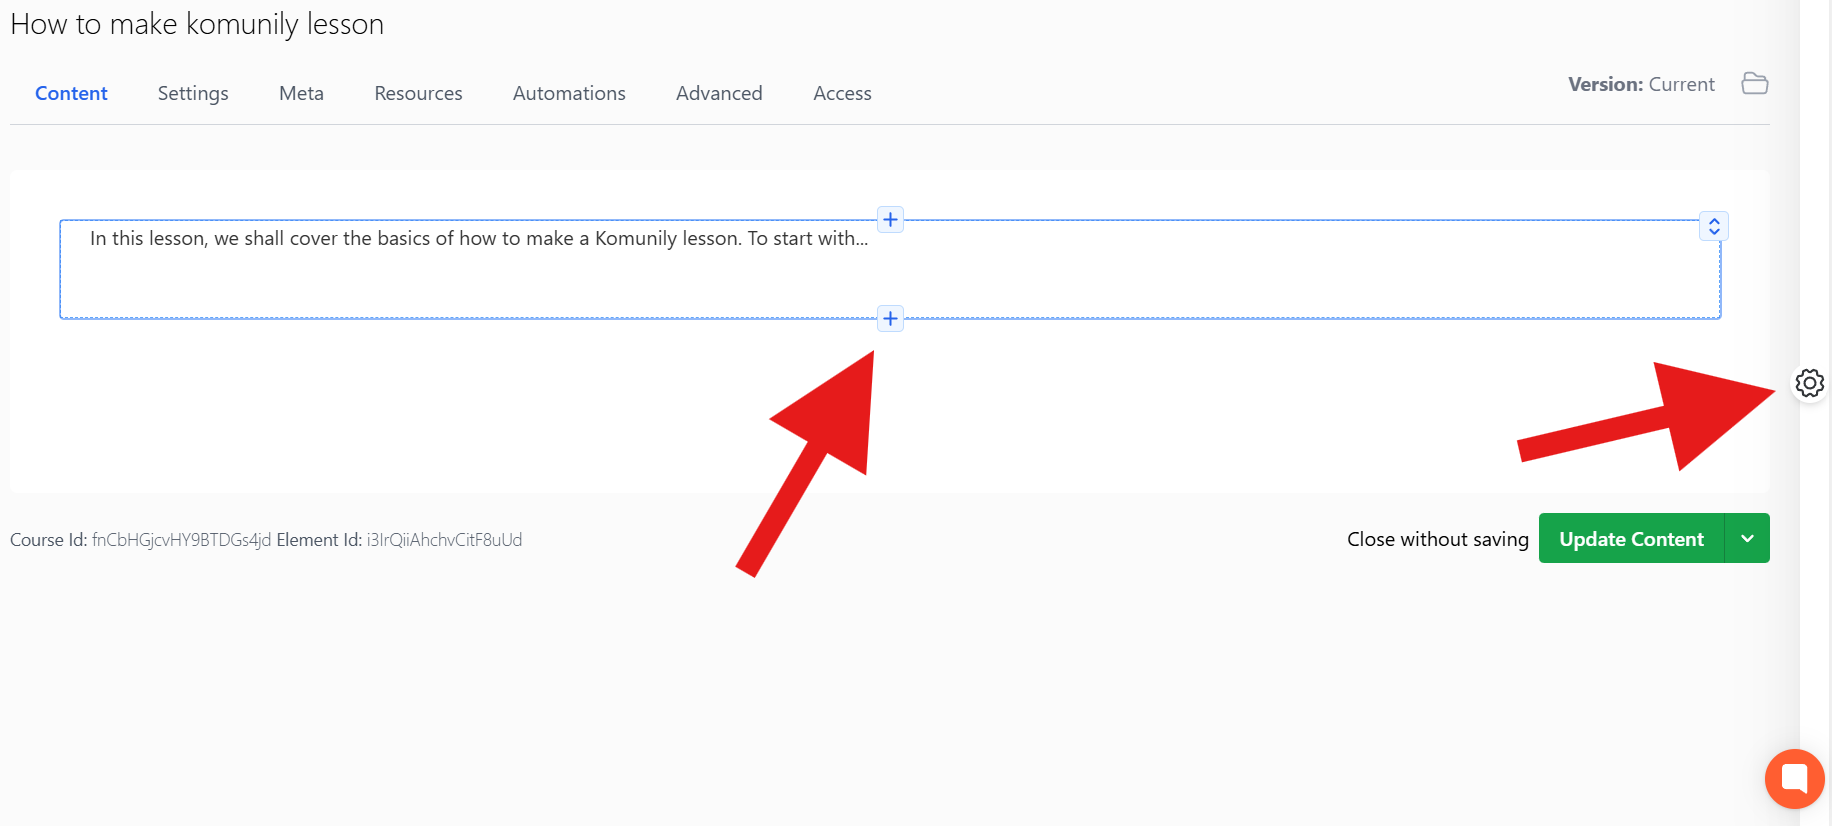
As you can see, there are a lot of options for you to add and design your course, so you can try and test each one. For now, we are just going to keep it simple for the example and add some text covering what this section of learning goes into. Upon adding an element, to add more or change its settings, you must click on it, then select the + symbol to add more to it or the settings button to change the current one; both are shown in the image below.
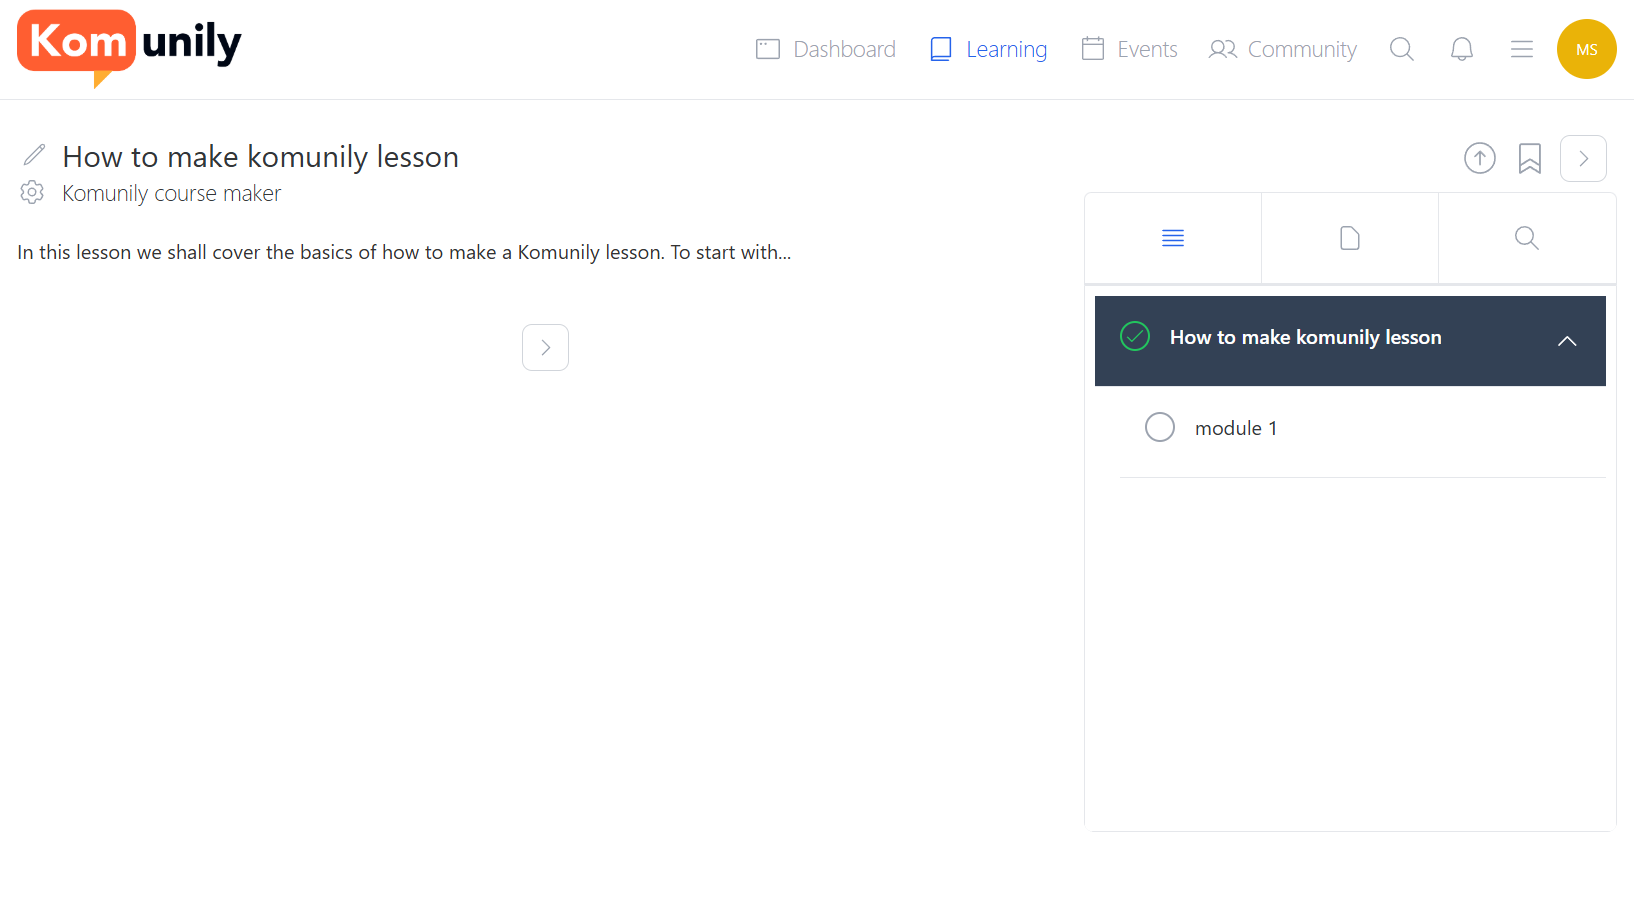
As you keep updating your course, you may wonder what it looks like on the receiving end. This is something you can totally do. To do this, you select the elements on the right of the course page builder as shown in the image below.
As you can see below, this is how the course started to turn out, just adding text. There are many features and things to add to your course, along with settings to suit your preferences.